I watched the above two videos, which inspired me a lot. Especially how to use Arnold mesh light.
Mesh light is very helpful to enhance the picture, especially for scenes full of high saturation colors and luminous bodies such as cyberpunk. I tried to increase the mesh light effect on my shuriken. I added a warm color to the blade part and mainly purple in the ring and adjusted certain parameters by my feelings. The effect is really great! It’s like a futuristic high-tech weapon.
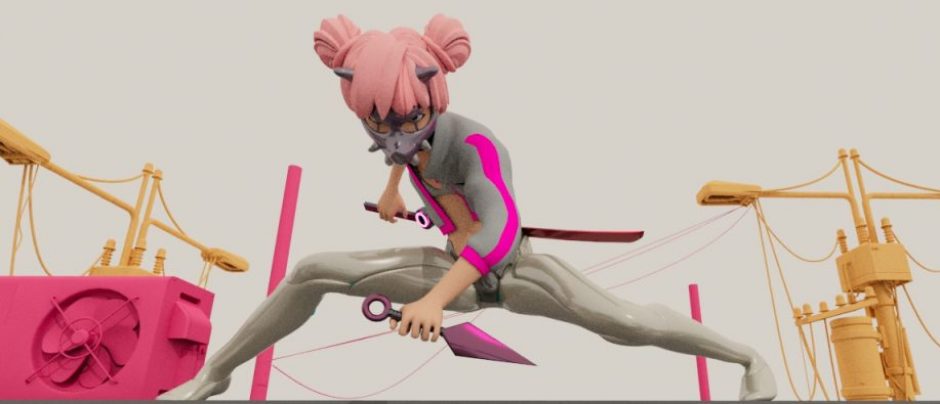
Then, I tried a certain degree of lighting on the characters. I want to render into a cyberpunk style. I added different area lights to the surrounding area, respectively setting purple, orange and blue. Mixing of different tones of lights.
Next, I continue to try mesh light, which can really make the picture super cool!
I also rendered my animation part, adding mesh light to the girl’s sword and the man’s mechanical eyes. Below are screenshots.
All in all, rendering and lighting are very important parts of the final stage of animation. The quality of rendering can directly affect the overall quality of the animation, and even get twice the result with half the effort. In the next semester, I will make good use of the course with KK to learn more about lighting.